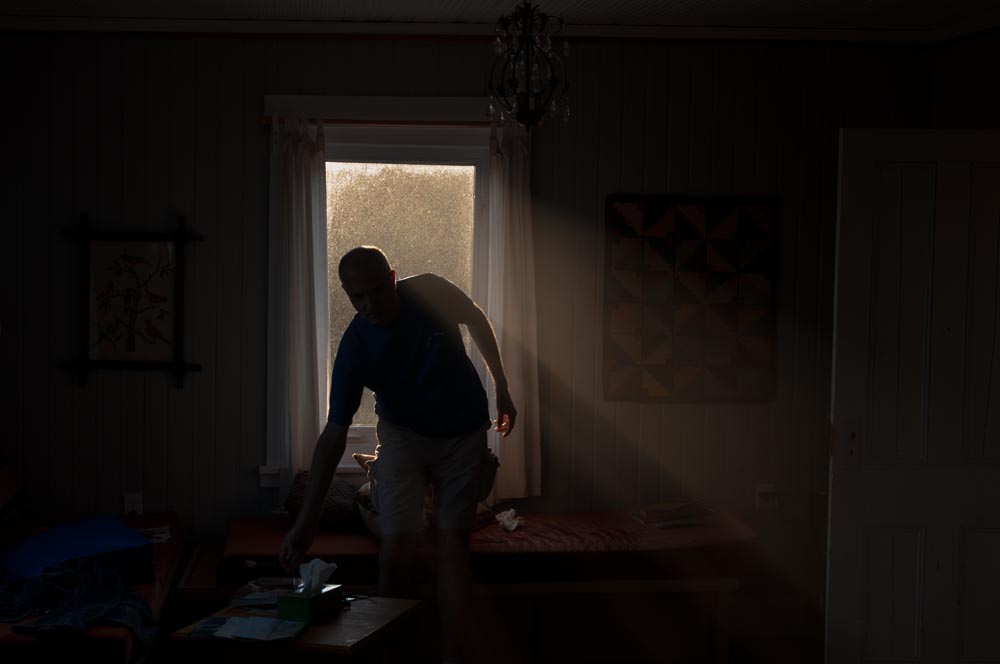
A final step in creating a fine art photography portfolio is careful color correction of the photographs.
Selecting the right color is crucial for the meaning of the image. But what is “right?”
This approach to color correcting is not completely technical but is about determining the essence of the photograph and bringing this out through color, contrast, density, and sharpness. This can be a very time consuming process and can be agonizing, for me at least.
Start with Adobe Camera Raw
My first step is to start by opening the image in Adobe Camera Raw, which is a great tool, and make some basic color, density, and sharpness adjustments. I play with the settings until it feels right, and try to be open to all possibilities during this process. Start with temperature and tint settings, then go on to Exposure, then the Sharpness tab.
What Is the Feeling?
Look at the color. What is the emotional feel? How does color contribute to the overall meaning of the image?
For example, is the sand on the beach at twilight more a warm yellow tint, or is it slightly cyan in the shadows; or should I stick with a realistic red tone of a woman’s face in sunlight, or make it more drastically more yellow to bring out a feeling of something mysterious? These are all starting points. Note there are many approaches to the proper color correcting workflow but the goal here is to just start and see what it looks and feels like.
Then, I try to put aside the initial impetus of what made me intuitively take the photograph in the first place, but connect to it, recall it, and simultaneously be open to what it should be by letting go of that original thought.
Because its at a different stage, the goal here is not to slavishly reproduce what something really looked like, but to instead let the photo tell me what it should be. I don’t have to follow a typical reddish flesh tone, for example, but I can let it go more green to add mystery, feeling, and emotion.
Sit With the Image
So, its important to first try to get a general idea of the photo. Usually, I sit with the photograph after the initial color corrections for several hours over several days. Its important to look to the photograph, and see what is there, and think about what its trying to tell me or be, and bring that out.
What is the photograph about, really? (Each photo is different, even if its taken at around the same time.) Well, I don’t really know usuall, but I need to figure it out somewhat before I can create a final print. Is it about how color and density shifts across the plane, drawing the eye from edge to edge? Is it about pausing in the center of the image, but moving to the dark and light of the corners? Is it about subtilly revealing a figure or detail in shadow area? Or is it about the general tone and beauty of a color?
Discover Creative Narrative Of the Photo
Then I focus on discovering the creative narrative within the photograph. This process cannot be forced. Let go of predetermined ideas and be open to all the possibilities, and just continue to look at the image, and watch for what its trying to say.
I sit with what I’ve done. I usually work in two hour blocks, taking a longer break every hour and minor ones every fifteen minutes or so to maintain fresh eyes. I usually only work on a few images at a time because any more would get distracting. I like to start with one image and work for a while or until I get stuck and begin to start on another towards the end of the color correcting session.
The Editing Process
The process might go something like this:
On day one, I might work for about an hour on the first image, then take a break. I then might go back to the image with fresher eyes, and work on it for another thirty minutes or so. Then I could switch to the second image, and briefly make some initial adjustments.
On day two, I would go back to the first image, and work on it for an hour. After a small break, I could then go back to the second image and look at that for forty-five minutes or an hour. I might then go back to the first image, or, if feeling ambitious, I might start work on a third image. And so on, usually working on two images on a time per day.
Look at Other Work
At this stage, it’s sometimes helpful to look at photo books, museums or galleries for inspiration and to see how other artists handle their images. How does William Eggleson, Stephen Shore, Jeff Wall, etc., render color, and to what effect? Visiting MoMA or the Metropolitan Museum is helpful (or even looking online at their websites, especially if you don’t live in New York). But be careful not to copy others because each photograph, and the approach to it, is unique.
Once things are close, I go to Photoshop for final corrections, tweaks, and the making of layers and masks. Here, I should have a pretty good idea about what needs to be done, but again, I try to remain open. I might go back to the original image in Adobe Camera Raw to make additional changes, thinking the initial approach was wrong. I then might even reverse that, and go back to the original.
Contemplate Test Prints
Then, create test prints to and pin them to the wall. Contemplate them for some time–a few days or even a week, if possible, always thinking about color and how it serves the meaning of the image. I could wake up and think I’ve got it all wrong and want to trash the prints and start over, but I try not to, and pause–maybe I just am having a bad day, or maybe all that’s needed is a subtle change in tone. As always, I try to be open and let it-the photo–naturally drive the process, not forcing a solution based on my preconceived notion of what the final print should be.
Color Correcting Takes Time
In the end, color correcting a fine art photograph could take weeks or even months. But I’ve found color correcting to me more about discovering the essence of the photograph rather than a technical process, and this takes time.
Comments are closed.